Fix ASUS Laptop Flickering Screen
Learn how to remove horizontal lines, artifacts, and flickering from your ASUS-TUF laptop screen.
James Clymans
7/28/2023
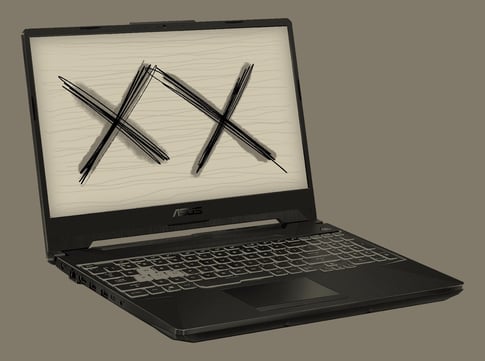
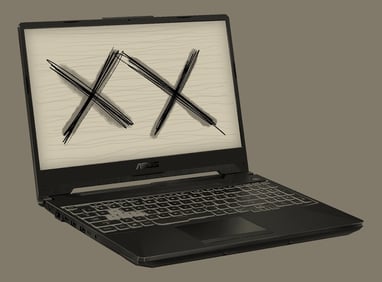
In this tutorial we will explore a solution for removing horizontal screen artifacts and flickering on ASUS TUF DASH F15 Laptops and similar models.
Multiple Asus laptop users have reported experiencing a flickering screen and have sent their laptops in for repair, where Asus determined they required a screen replacement. One reddit user reported that this repair not only failed to solve the problem, but also caused issues with driver installations. The laptop underwent a second repair which also failed to solve the problem. Upon reaching out to customer care a third time, Asus replaced the motherboard, which also unfortunately did not resolve the screen artifacts and flickering.
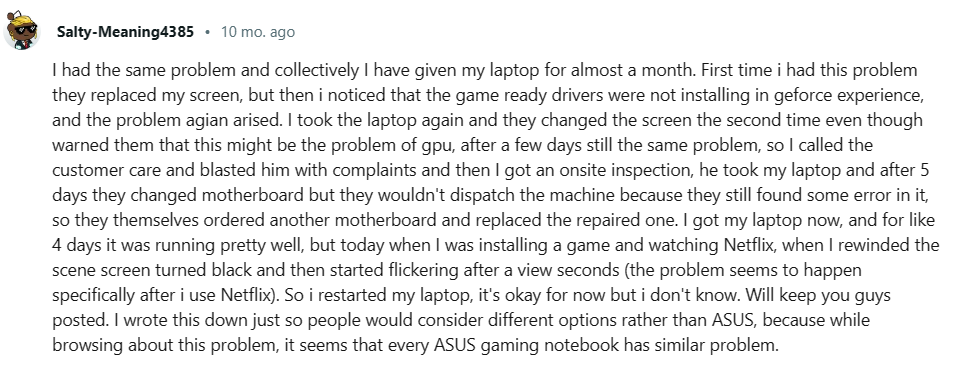
So, if you were thinking about sending your laptop in to Asus repair services, it may be worth noting they themselves don’t even know what is causing this problem, nor do they have any viable solution. As such, we will explore a proven workaround for this issue in this tutorial.
Step 1.
If your laptop is currently experiencing flickering / horizontal lines that fully obstruct the screen, you can use Windows Narrator to navigate the user interface in the following steps. If your laptop is not currently experiencing flickering / horizontal lines, you can skip to Step 2.
Narrator can be enabled by searching “Narrator” in the start menu and hitting enter, but if you can’t see your screen, you may wish to use the dedicated keyboard shortcut instead: WIN+CTRL+ENTER. Upon activation, Narrator will read the contents of your screen out loud and narrate content you are hovering over with your mouse pointer.
Step 2.
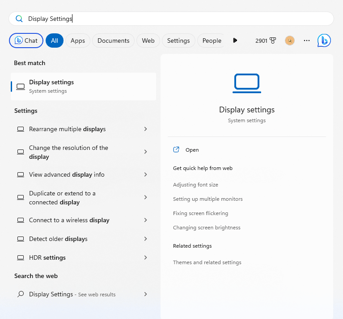
Press the Windows Key to open your start menu and type in: “Display Settings” and press Enter. If you cannot see your screen, listen for Narrator to announce “Display Settings” before pressing enter.

Step 3.
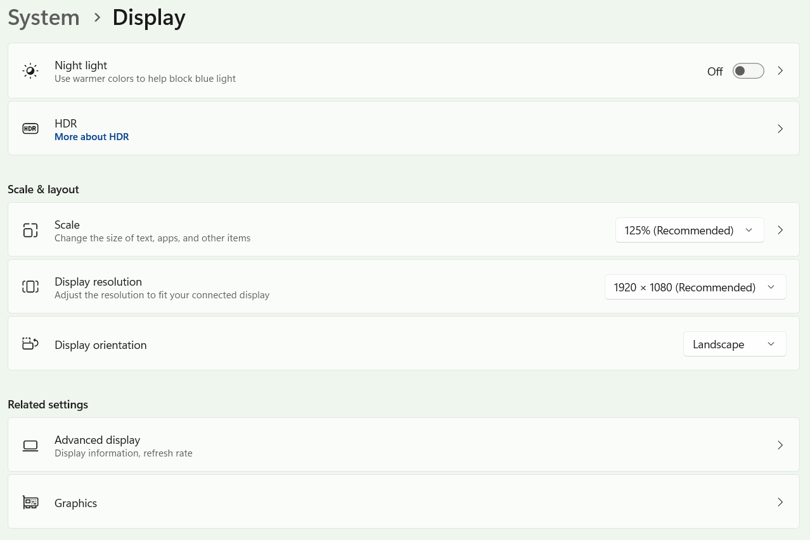
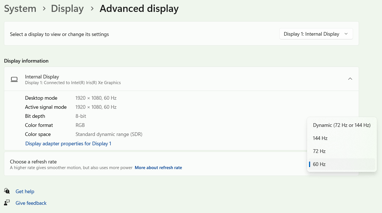
Navigate to “Advanced Display” and click on it. If you cannot see your screen, you can press the Tab Key and listen for Narrator to announce the current option. Continue to do this until Narrator announces, “Advanced Display” and then press the Enter Key.
Step 4.
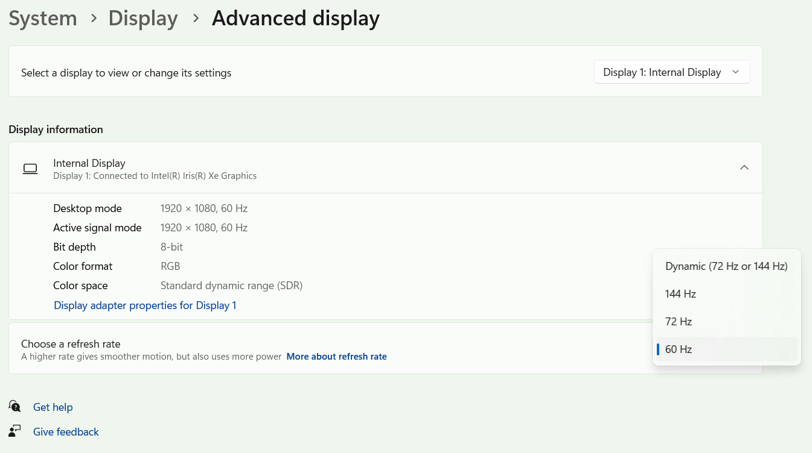
Navigate to refresh rate and change it from 144 Hz to 60 Hz. If you cannot see your screen, press the Tab Key until the Narrator says: “Refresh Rate 144 Hertz”, then press the Enter Key, followed by the Down Arrow Key until you hear “60 Hertz Selected”, then press the Enter Key again. When prompted, select “Keep these changes”. You should now be able to see your laptop screen again, and all flickering / horizontal lines should be gone.
Step 5.
Use the dedicated shortcut to disable the Narrator: WIN + CTRL + ENTER.
Additional Notes
It is important to note that if you plug your laptop into an external monitor to use 2 or more screens at once, the laptop screen will default to the problematic 144 Hz refresh rate, and you will have to repeat this process. You will have to do this only once for each external monitor configuration and you will not need to use Narrator each time as you can just make these changes on the external display.